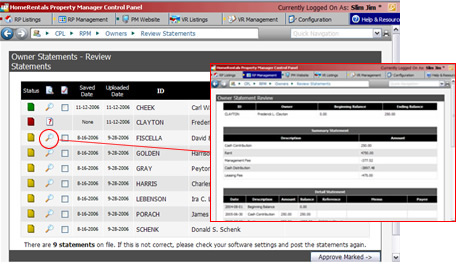
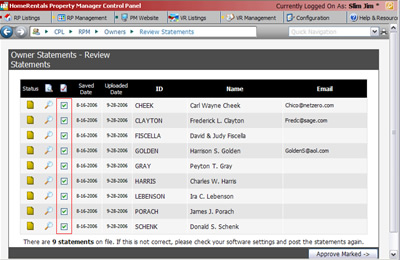
Clients will be able to view the most recently uploaded statements after you approve/save them. You may either review and approve each statement individually, or approve all or a group of statements without first reviewing them.
 Figure 29a |
Review and Approve Individual Statements (Figure 29a)
| 1. | Click on a magnifying glass icon to review a client's individual statement. |
| 2. | After you make sure the statement is accurate, scroll to the bottom of the screen where you can add an individualized statement note. |
| 3. | Click “Approve and Save Statement” to approve the client’s statement and make it active in their online account. A confirmation message will be displayed to let you know that the statement has been successfully saved. |
If you find a statement error during the review process, you must correct it in PROMAS. You are not able to edit statement transaction data through your HomeRentals.net Control Panel. If you do not want to approve a statement, click “Cancel” to return to the statement list.
After you finish reviewing and approving the other online statements, correct the statement error in PROMAS and then upload the revised statement. You are able to restrict the statement upload to an individual client's statement, or upload a group of statements by limiting the upload to a specific PROMAS category.
 Figure 29b |
Approving Selected Statements Without Review (Figure 29b)
Mark the “Approve” checkbox beside each client whose statement you are ready to approve. Or, mark all of the statements for approval at once by clicking on the icon at the top of the approval checkbox column. Click “Approve Marked" to make these statements active in the clients' online accounts.
A confirmation message will be displayed to let you know that the statements have been successfully saved/approved.