Most RP Management System users will synch profile data from PROMAS. If you use PROMAS, you may safely skip this section.
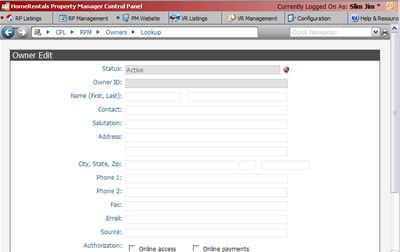
If you do not use PROMAS property management software, you will need to enter your profile data manually. (Figures 25a and 25b)
 Figure 25a |
 Figure 25b |
| 1. | From the RP Management menu, select the profile type to be added (eg. Owners) and click on the profile list "Add" option (eg. Owner List ->Add Owner) to open the profile entry form. The options displayed will match those listed in the “Managing RP Management System Profile Lists: Edit a Profile” section of this guide. |
| 2. | Enter profile information into the form fields. If you are entering an Owner, Tenant, or Vendor profile, mark the client authorizations to be enabled. For best results, make sure the information you enter is as complete as possible. The RP Management System will automatically generate a profile ID. |
After you have added the necessary data, click “Save . . .” A confirmation message will be displayed to let you know that the update has been successful. The next time you view your profile list, the new profile record will be displayed.